 Webchunks extension for Firefox 3 TutorialWebchunks extension for Firefox 3 Tutorial
Author: Daniel Glazman <daniel@glazman.org>
Webchunks is an extension to Firefox 3 for all platforms implementing Internet Explorer Webslices and even extending them. With the use of a great extra extension to Firefox, Greasemonkey to name it, it's possible to insert Webchunks/Webslices in all web pages, regardless of the fact the site's author did not add Webchunks/Webslices to the site.
Note: this tutorial will use only the word Webchunk for this point.
Install Webchunks from addons.mozilla.org. Firefox 3 will need to be restarted to install the extension. That's all !
Warning, Webchunks does not work with versions of Firefox
older than version 3.
Warning, Webchunks 1.0 is not compatible with previous versions of
Webchunks and you'll need to recreate your Webchunks toolbar if you had
a previous version installed.
Seriously, you don't want to do that :-) If you really really need it, select the "Add-ons" menu entry in the Tools menu of Firefox 3 to do that.
If you have enabled automatic notification of extension updates, Firefox 3 will notify you directly when a new version is available. Otherwise, just follow again the installation process described above.
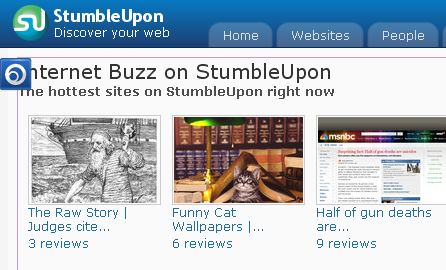
Webchunks adds a new toolbar to Firefox 3 and a button controlling that toolbar (right before the URL field) :

The first icon at the start of the toolbar serves two purposes:
Note: if you have too many webchunks for the width of the toolbar, a small chevron will appear on the right hand side of the toolbar allowing you to reach hidden webchunks through a menu.
![]()
You can hide/show the Webchunks toolbar using the View > Toolbars
> "Webchunks toolbar" menu entry or you can use the Webchunks button
in the main toolbar. This button is usually blue and becomes red if one
Webchunk was updated and displayed bolden in its toolbar.
Clicking on an entry opens a popup with a set of buttons and the webchunk itself: A throbber turns inside the popup until the webchunk is fully loaded.
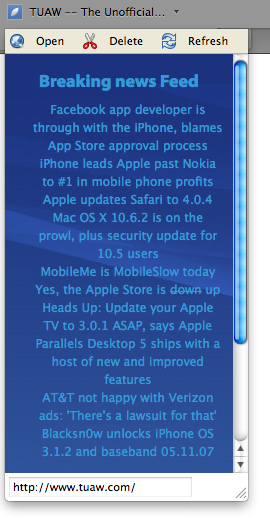
The first button, "Open", at the top of the popup will close the popup and show the web page corresponding to the webchunk in the main browser area.
The second button, "Delete", removes the webchunk from the toolbar. This cannot be undone.
The third button, "Refresh", manually refreshes the webchunks contents in the popup.
The popup also contains expiration information if such data are provided by the webchunk.
The rest of the popup shows the webchunks itself. All
active HTML elements like links or for submission buttons will show the
result in the main browser area, closing the popup.
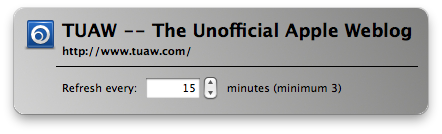
A context menu is available on all webchunk entries. It
allows to open the page the webchunk refers to, delete or refresh the
webchunk, and tweak its properties.
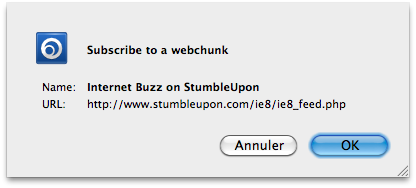
Despite of the fact Webchunks/Webslices are a great feature, they're
not widely used over the Web. One of the main reasons is probably the
fact they hide advertisement... Anyway, thanks to a piece of code
written by Zbigniew Braniecki, it's possible to select any element in
an arbitrary web page
and turn into a webchunk. Just select the first menu item when you
click on the webchunk icon in the webchunks toolbar, and select an
element in the page !